4 Things to Expect on the First Play-Test of a New Board Game
Dev Diary posts are made to teach game development through specific examples from my latest project: Highways & Byways. Just here for Highways & Byways updates? Click here.
This week, I talked about How to Play-Test the Core Engine of Your Board Game. This is the process by which you confirm that the game you ultimately want to make is possible. When you’re creating and play-testing the core engine of a game, it’s going to be rough. Really, really rough. Because of that, it can be discouraging if you’re expecting it to be fun. It can be hard to tell the difference between “not very fun, but lots of potential” and “not very fun, better try something else.”
Looking for more resources to help you on your board game design journey?
Here you go: no email required!
Like this writing style?
Check out my latest blog on marketing here.
With that in mind, I’d like to take a moment to set expectations. The very first few times you test a board game, it’s going to be rough. That’s why I recommend testing the earliest stages alone until you make something that won’t break on the table. Only after your game is functional and has a few mechanics and rules do I recommend bringing in play-testers. This is what you can expect before you reach that point. Early play-testing feels more like science than art.

1. Creating a functional game may take longer than you expect.
Sometimes you can draft up a simple game in a few hours and it’s playable. Other times, it takes a long time to even get a game to a point where you can finish a single play-through. This can be for a variety of reasons. If you’re making a complicated card game like I did with War Co., it takes a lot of time just to come up with all the different cards and their effects. Then you have to test them until you eliminate all game-breaking issues before it is, strictly speaking, a functional game. I don’t consider a game functional until you can consistently play it without it breaking and stopping entirely. Functional, by the way, is a much lower threshold to cross than “fun” which takes a lot longer.
Even if you’re just making a game with a board, something simple like a classic euro-style game, it can take a long time to get the basic engine of your game running. It can take anywhere from a few hours to a few months to get a game working. You need to be mentally ready for that.
2. Your game will not be fun for a long time.
“Fun” is a nebulous and weird concept for game developers. At this point, I don’t even chase “fun” because it’s a vague, poorly defined concept. I chase functionality, theme-mechanic unity, and smoothness of experience. Those are the things that can earn high quality scores from play-testers which is the closest definition to “fun” I’ve found.
Fun is the natural state of a well-made game. Games are fundamentally fun. They are entertainment at the core no matter what your specific “core engine” is. Because of that, I don’t see fun as being achieved but as a natural state that is muddied by poor execution. That is to say, I believe that games are fun by default and screwed up by design. A well-made game has well-implemented rules, mechanics, art, and so on, all of which seamlessly allow the game to be its natural fun self. A poorly made game is broken in such a way that the fun leaks out of it and players are left cold.
The brutal thing about this is that players can feel huge impacts from small problems in rules and mechanics. Your game will probably be bad for 90% of the development process. That means in the first few play-tests, if it’s tolerable and the basic ideas make people smile, that’s a good sign. That’s what you’re looking for and that’s how you know when to keep pursuing your game idea.
3. Your game will be broken.
Games are complicated systems strewn together from a lot of mechanics and rules. It is impossible to imagine how a game will play out without really testing it. That means the first time you try it, unless you’re making a really simple “filler” game, you probably won’t be able to get through a test. You’ll likely find yourself in a pattern of playing for 5 minutes, tweaking something, and starting over. This might continue for a long time.
4. Your game will be borderline impossible to test with others until you fix the obvious breaks.
Because your game will start out in a broken state, I recommend testing your game alone or with your teammates when you first start. The goal is simple: just get it playable. Get it functional. You can invite play-testers to try it out once you make sure you can get through a whole game. Yet I would not waste play-testers’ time with anything that you can’t get through a whole game of non-stop. Play-testers are hard to find and, frankly, if there are simple logic problems that prevent the game from being played out, you don’t need their feedback. You just need to fix the obvious problems first. Play-testing feedback is more about the subjective parts of a game. That makes their feedback invaluable and irreplaceable, but only once you cross a certain threshold.
Got any stories you’d like to share of early game development experiences? Share them below in the comments 🙂
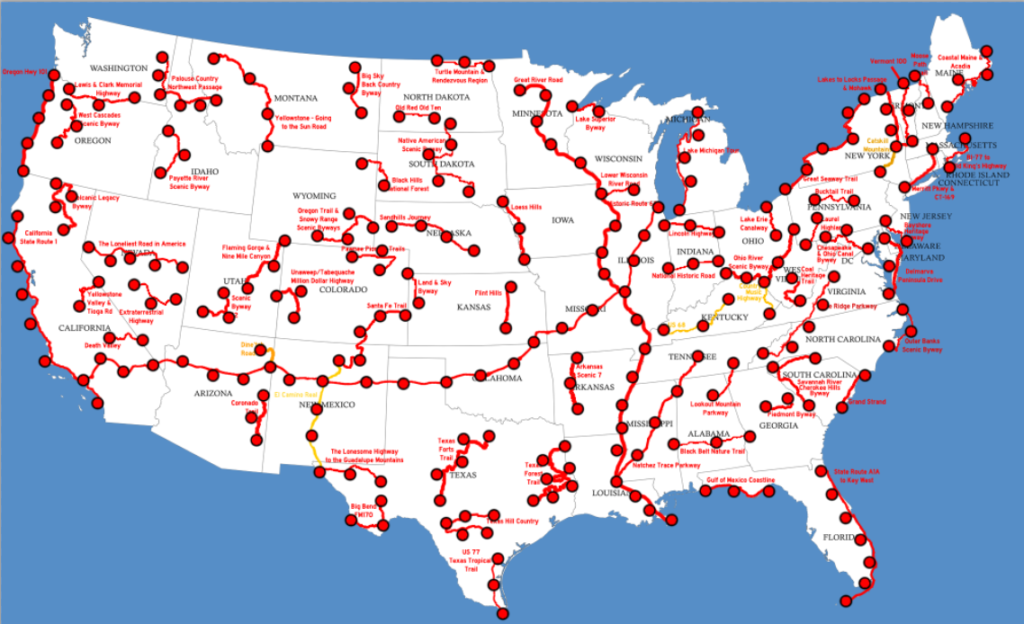
Most Important Highways & Byways Updates
- I’ve got Event Card art. You’ll see it being posted on social media in the weeks to come!
- I’m still play-testing this game. I haven’t had to make any massive changes yet.
- If the version I’m currently on, I-3, doesn’t need any major changes, then I’m willing to send a copy to reviewers after 100 play-tests. It’s that close to completion now.